Showing posts with label Recipe. Show all posts

Sunday, November 24, 2013

Even More Breakfasts on the Go: Pumpkin and Apple Muffins

As I have mentioned several times we are a hurry up and go in the morning family. I also have a LOT of pumpkin puree in my freezer. So its no surprise that I am making another pumpkin muffin recipe...this time I am using some apples I just happen to have hanging around.

I didn't want to like this recipe, I am not a fan of cooking with apples...to much work involved. Cutting, peeling and coring...ugh. I am a dump it all together without doing anything else kind of girl but the smell alone was enough to convenience me to make this muffins again. The after I tried one....so very very good.

Pumpkin and Apple Muffin

  • 1.5 cups all purpose flour
  • 1.5 cups quick cook oatmeal
  • 1 tsp ginger
  • 1 tsp cinnamon
  • 1/2 tsp cloves
  • 1/2 nutmeg
  • 1.5 tsp baking powder
  • 1 tsp baking soda
  • 1 tsp salt
  • 2 TBSP ground flax seed
  • 1 cup brown sugar
  • 4 eggs
  • 1 tsp vanilla
  • 1 cup pumpkin puree
  • 1/2 cup oil
  • 1/2 applesauce
  • 1/2 cup honey 
  • 2 apples chopped and peeled
Directions


  1. Preheat oven to 350 degrees
  2. Mix flour, oatmeal, ginger, cinnamon cloves, nutmeg, baking powder, baking soda, salt thoroughly and set aside.
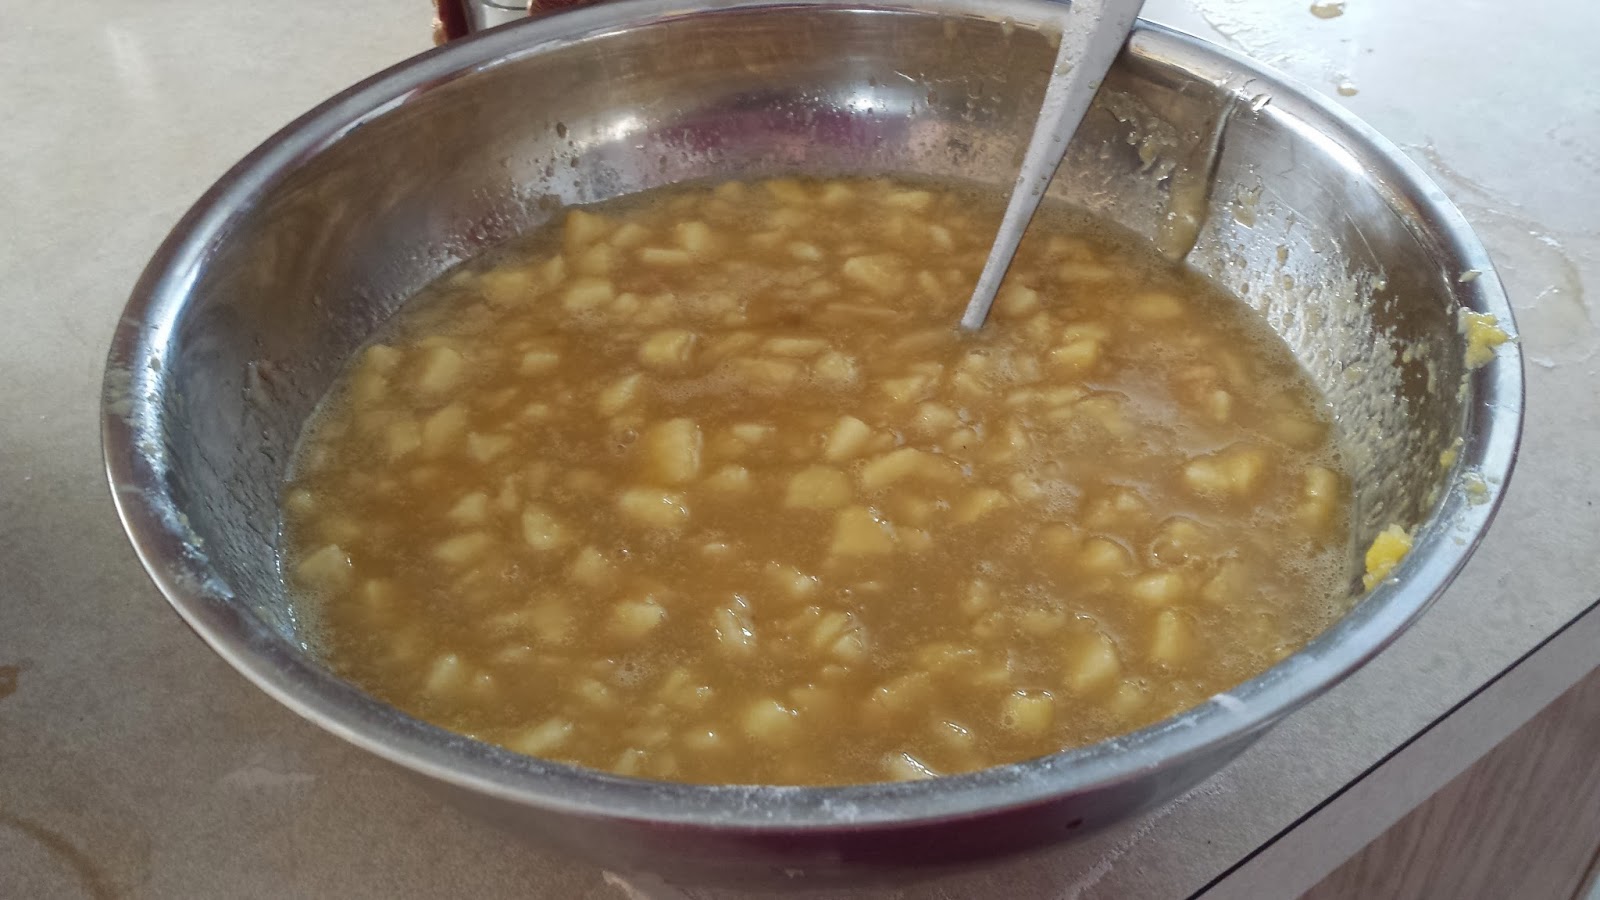
  3. In a separate bowl mix brown sugar, eggs, vanilla, pumpkin puree, oil, applesauce, honey and apples. 
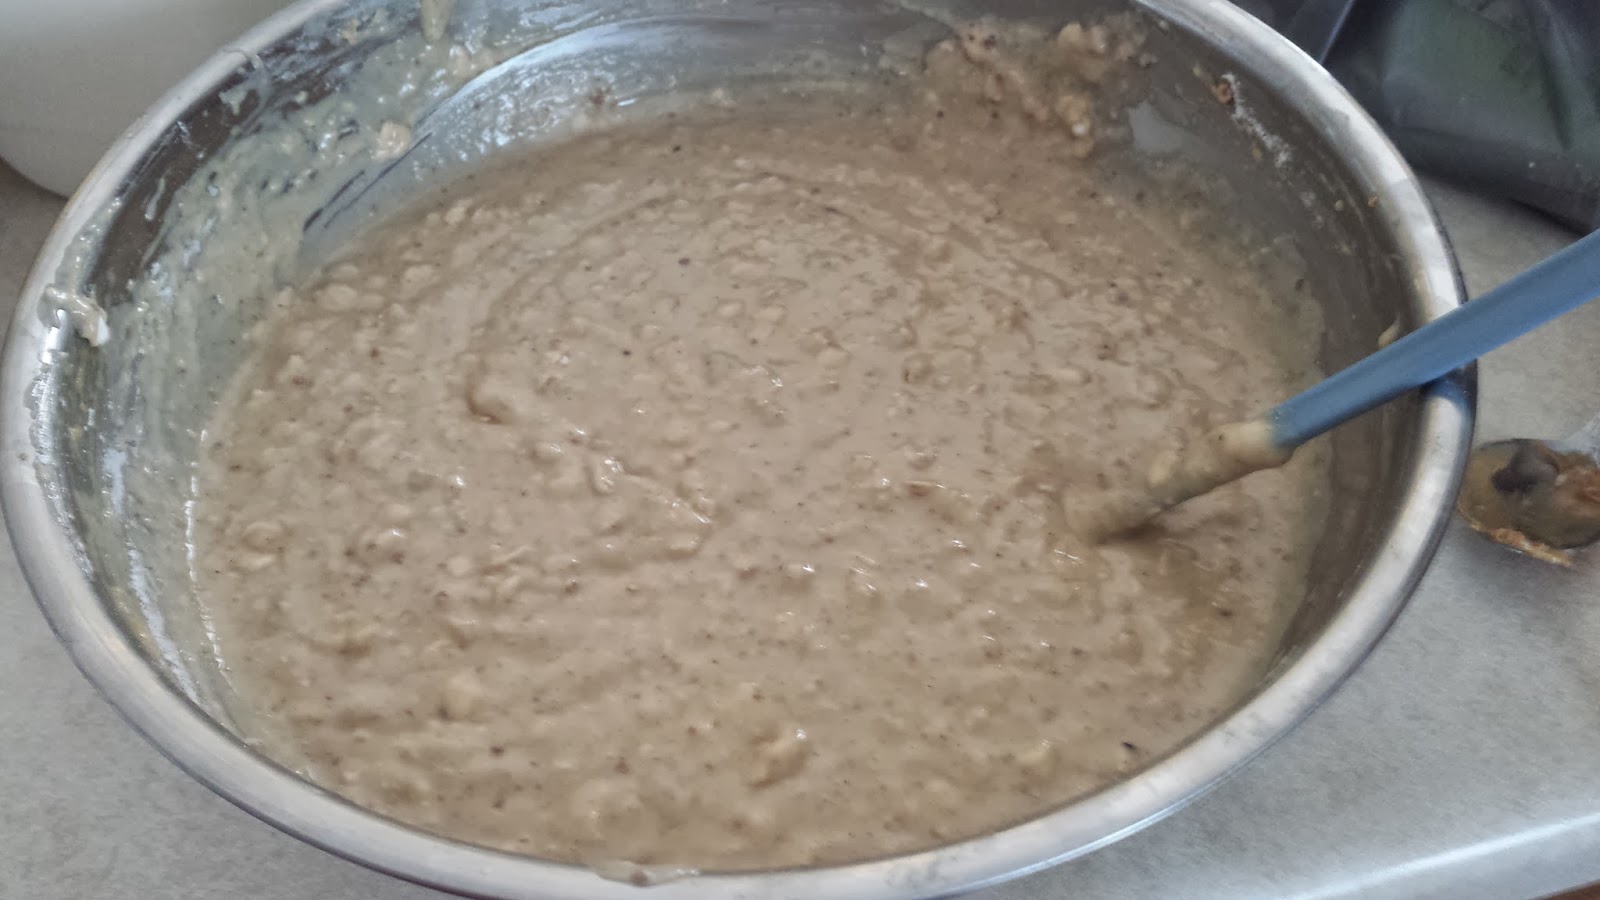
  4. Add "wet" ingredients to dry ingredients. Mix well.
  5. Fill lined muffins tin 3/4 full.
  6. Bake at 350 degrees for 20 minutes.
This recipe made 24 muffins

Sunday, November 10, 2013

More Breakfast on the Go: Pineapple Pumpkin Muffins

Have a mentioned I have a lot of pumpkin puree in my freezer?

Well I do.

Have I mentioned that we are not "morning people" at my house. Well The BF is but he gets up really early and often doesn't have a good breakfast.

So when I found a recipe for breakfast muffins that include muffins, I thought why not. When I realized I had all the ingredients to make it even with the changes I made, I thought hell ya.

They are super easy and super good.

Pineapple Pumpkin Muffins
  • 2 cups flour
  • 1 cup oats
  • 2 teaspoon baking powder
  • 2 teaspoon baking soda
  • 1 teaspoon cinnamon
  • 1/2 teaspoon nutmeg
  • 1/2 teaspoon ground cloves
  • 3 Tablespoon ground flax seed
  • 2 large egg
  • 1 cup packed brown sugar
  • 4 Tablespoons oil
  • 2 cup unsweetened pumpkin puree
  • 1 cup unsweetened crushed pineapple, drained
Directions
  1. Preheat oven to 400 degrees
  2. Mix the flour, oats, baking powder, baking soda, cinnamon, nutmeg, ground cloves, flax seed in a large bowl.
  3. In a separate bowl mix together the eggs, brown sugar, oil, pumpkin puree and pineapple.
  4. Add the "wet" ingredients to the "dry" ones. Stir until they are barely mixed together.
  5. Scope evenly into 24 lined muffins tins.
  6. Bake for 14 minutes.
  7. Cool and place in freezer bags, then freeze.

This recipe was inspired by Mother Rimmey's Cooking Light Done Right

Making Pumpkin Puree and Buttermilk Pumpkin Pancake Recipe

Last week I talked about going overboard with making my own pumpkin puree and how I may have gone overboard. Many of you asked how did I do it?

During the process I had planned to take pictures but as usual my camera was no where to be found and all I go was one picture on my phone.

So here goes...

Pumpkin Puree

  • Whole pumpkins (if you can get organically and locally grown)
Directions

  1. Wash the outside of your pumpkins.
  2. Cut pumpkins in half and scoop out the guts.
  3. Preheat oven to 350 degrees.
  4. Cut the pumpkin into manageable pieces. (I had HUGE pumpkins which involved lots of cutting.)
  5. Place pumpkins on a roasting pan (its okay to stack them just make sure the inside isn't completely covered.)
  6. Add 1 cup of water in the bottom of the roasting pan.
  7. Bake for about 45 minutes (this depends on the size of tour pumpkins).
  8. Remove form oven and cool for 20-30 minutes.
  9. Once they are cool enough to handle scrape the pumpkin from the shell.
  10. Puree in blender until you reach the desired consistency (this is optional)
  11. Freeze, can* or use your pumpkin.
  12. When freezing place one sup in a freezer safe bag, squeeze as much air out as possible, lay flat and freeze .
Now I know you are wondering that is awesome but that do you do with all that pumpkin puree?

Very good question and I don't have it all figured out ...yet. I did share some with my sister and mom.

The BF did make pumpkin pancakes one Sunday morning (yes we are that family that eats pancakes for breakfast). Everyone loved loved loved it so I am guessing we will have it again and again.

Buttermilk Pumpkin Pancakes

  • 3 cups buttermilk pancake mix
  • 2 cups cold water
  • 2/3 cup pureed pumpkin
  • 1 teaspoon cinnamon
  • 1/2 teaspoon ginger
  • dash of nutmeg
  • dash of clove
Directions

  • Mix all the ingredients together.
  • Cook as you would any other pancakes.
I don't have a picture of these right now either. But this time its because the kids ate them so fast. It made about 12 pancakes.

*Check out this great post from For Dragonflies and Me about canning pumpkin.

Saturday, October 26, 2013

Breakfast on the Go

I am not a morning person. I am the type to hit snooze three or four times before dragging my butt out of bed, which means I am always in a hurry to get out the door. The BF gets up when his alarm goes off the first time, gets ready and goes...of course its 4 in the morning when he gets up. So breakfast in our house is usually a grab and go affair.

So I am always trying to find a new prepare in advance breakfast for the two of us that isn't full of sugar and is moderately good for us.

With that in mind I was searching through my recipes and came across a hand written recipe that I have no idea where it came from but its in my hand writing so I decided to do a little baking and try the recipe...after all I had all the ingredients in my pantry.

Peanut Butter Banana Oatmeal Muffins  
  • 2 1/2 cups flour
  • 1 1/2 cups old fashioned oats
  • 2 tablespoon baking powder
  • 2 tablespoon ground flax seed 
  • 1 teaspoon salt
  • 2 teaspoon cinnamon, clove and nutmeg*
  • 2/3 cup creamy peanut butter
  • 4 medium overripe bananas
  • 2 large eggs
  • 1 1/3 cups brown sugar
  • 2 1/2 cups skim milk
Directions:
  1. In a large bowl mix flour, oats, baking powder, flax seed, salt, and cinnamon, clove and nutmeg*
  2. Add the mixed dry ingredients to the bowl of wet ingredients and stir. In a separate bowl, smash bananas and mix in peanut butter and eggs. Then add brown sugar and milk. Stir until well blended.
  3. Fill greased or lined muffin pan with batter, these are not cupcakes you can fill them to the top.
  4. Bake 18 minutes at 375 degrees
  5. Let muffins cool completely. Place 2 in a freezer bag and freeze. Take out a bag the night before and you have breakfast for two.
Makes 24 Muffins

*This is a little less precises then most baking but I just took a teaspoon and dumped some cinnamon, clove and nutmeg until the teaspoon was filled. Then I repeated the process with the second teaspoon. A little odd I know but this way you can add more of the flavor you like and you get to feel all rebellious while baking.

Sunday, October 20, 2013

Peachy Kean Jelly Bean

Part of the canning adventures my family and I have been on recently involved lots and lots of peaches. In part because in this part of Utah we have a lot of peach trees (did you know that) and because my sister has 2 peach trees.

So in addition to canning A LOT of peaches, we made a variety (4) of peach jam. 

I thought I would share some of the different peach jam recipes we tried. They are basically all the same recipe with a slight variation. 

The following recipes will make 7-9 pint jars of jam.


Basic Peach Jam 
  • 8 cups peeled and diced peaches (we diced them into large chunks to make more of a preserve)
  • 4 Tablespoons lemon juice
  • 2 boxes of pectin
  • 1 teaspoon butter
  • 11 cups sugar
Low Sugar Peach Jam
  • 8 cups peeled and diced peaches
  • 4 Tablespoon lemon juice
  • 2 boxes of low/no sugar pectin
  • 1 teaspoon butter
  • 4 cups sugar
Raspberry Peach Jam
  • 6 cups peeled and diced peaches
  • 2 cups whole raspberries
  • 4 Tablespoons lemon juice
  • 2 boxes of pectin
  • 1 teaspoon butter
  • 11 cups sugar
Lavender Raspberry Peach Jam
  • 6 cups peeled and diced peaches
  • 2 cups whole raspberries
  • 4 Tablespoons lemon juice
  • 1 cup "lavender tea"*
  • 2 boxes of pectin
  • 1 teaspoon butter
  • 11 cups sugar
Directions
  1. Put peaches, raspberries, lemon juice, pectin, butter and "lavender tea" into a large stock pan over medium heat
  2. Bring to a hard boil stirring continuously (resist the urge to cook on high you don't want to burn your fruit)
  3. Add sugar and bring back to a hard boil.
  4. Once you reach a hard boil cook for 1 minute.
  5. Remove from heat and skim off foam.
  6. Ladle into prepared canning jars, filling within 1/8 of an inch from top. 
  7. Wipe of jar rims and threads.
  8. Process for 20 minutes (check your altitude for processing time it may be less or more than ours) using a hot water canning method.)
  9. Remove cans from water bath and let cool at least 24 hours.
  10. If lids did not seal reprocess or store in refrigerator. 
*"Lavender Tea"
  • 2 Tablespoons dried lavender 
  • 1 cup boiling water
 Directions
  1. Add lavender to tea ball and place in a glass mug
  2. Pour boilng water over lavender
  3. Seep for 20 minutes
  4. Discard lavender in tea ball and add the "tea" to fruit.


I Made a Vapor Rub

Last week I didn't feel well. and in a moment of clarity or desperation, depending on who you ask, I decided to make my own vapor rub for two reasons, 1. I was out of vapor rub and 2. store bought vapor rub is full of petroleum byproducts.

Surprisingly I had a really good idea how to go about this and I had all the ingredients.

Vapor Rub
  • 5 Tablespoons coconut oil
  • 2 Tablespoon beeswax
  • 1 Tablespoon Evening Primrose
  • 20 drops peppermint oil
  • 20 drops eucalyptus oil
  • 15 drops rosemary oil
  • 10 drops clove oil
  • 10 drops melaluca/tea tree oil
  • 5 drops lavender oil
Directions
  1. Add coconut oil, beeswax, and Evening Primrose in a container to melt. You can do this several ways, I choose to place everything in the mason jar I wanted to store the rub in and place it in a hot water bath.
  2. Slowly melt the mixture, stirring often. It took me 15 minutes.
  3. Remove jar from water bath and add essential oils. 
  4. Cover container with a paper towel or anything that will allow the heat to escape but not allow contaminants into the jar. In my house that translates into keeping the dog hair out.
  5. Allow mixture to cool until solid. I was impatient so I placed it into an ice bath but you can leave it on the counter to cool or place in the fridge.

 How does it compare to store bought

This mixture is less thick and heavier than the stuff at the store. It also absorbs into the skin quicker. Probably because all those yucky ingredients are missing. It is also harder than the store bought stuff, so you end up digging the mixture out of the jar. This may be because I keep my house a little on the cooler side and because the mason jar I had was a pint jar which is much to big for the amount of rub I made. 

Personally I think it did just as good of a job as the stuff in the store. I rubbed it on my chest and feet and it cleared up my sinus and I started to feel better. I have also place it in my wax burners in several rooms of my house to help everyone breath a bit better. If I have learned anything it is that once one person in my house gets sick, everyone will eventually get sick.

Be sure you are using quality essential oils. All oils are not creates the same. Do your research. 


Check out the two posts that inspired my recipe: Wellness Mama and Modern Alternative Mama

Saturday, October 5, 2013

Have Tomatoes? Make Spaghetti Sauce

If you have been following my mad cap adventures these last few weeks on Facebook you may have noticed my Health Nut Sister and I have been doing a lot of canning. We are obsessed with food preservation all of the sudden. And since she and I already canned tomato sauce (more on that later I promise) I decided to make spaghetti sauce with all the tomatoes, onions and peppers from my garden and freeze it. I may have canned it but my mom has all the canning equipment and it doesn't sound like as much fun all by myself.

And believe it or not but canning with family is lots of fun. Or at least it is with my family. But we are very odd people.

1. I started out by collecting all the goodies from the garden and washing them. When I say I collected them I mean The BF went and got all the goodies including some things for dinner that night.

2. After washing them I cut them in to large pieces and placed them into my handy dandy Ninja. This is apparently controversial because I don't blanch and peel the skins off the tomatoes. When I freeze or can whole tomatoes or diced tomatoes I always peel them but when I am making sauce I don't...mostly because I am lazy and that's an extra step. I have never had any complaints. Back to the ninja, I puree the vegetables. You can leave it chunky if you like but I am trying to hide the vegetables the kids don't like.


Ingredients*
  • 19 cups of tomatoes after you have pulsed them in the blender
  • 3 medium onions
  • 2 green peppers 
  • 4 celery stalks
  • 2 tablespoons garlic (I like the already chopped kind)
  • 3 -12 oz cans tomato paste
  • 1/4 cup balsamic vinegar
  • 3 tablespoons brown sugar
  • 4 teaspoons salt
  • 1 tablespoon dried oregano
  • 2 teaspoons dried basil
  • 1 teaspoon black pepper
  • 2 tablespoon Italian Seasoning of your choice (I used Pinch Perfect Tuscan and Sicilian seasoning)
  • 1 teaspoon red pepper flakes
  • 1/2 teaspoon cumin
  • 3 Tablespoons lemon juice
3. After all the vegetables are purred I add them and all the other ingredients to a big stock pan and bring to a boil.

4. Once the mixture is at a boil reduce the heat and cook for at least two hours, I usually cook it 3 hours but two is the minimum, stirring often.

5. Remove from heat and let cool completely or start the canning process if you are not freezing.

6. To freeze the sauce place 2 cups in freezer sandwich bags. Push as much air out as possible, seal the bags and lay flat.

7. Put on a cookie sheet and place in freezer. Once they are completely frozen stack in freezer.

Now you have some homemade spaghetti sauce in your freezer.


Check out my homemade tomato sauce.

* I modified this recipe from My Crazy Life as a Farmers Wife


Sunday, July 14, 2013

Ham and Potato Chowder

Today I thought I would share one of my family's favorite recipes. Its inspired by two other favorite recipes: Chicken Pot Pie and Swiss and Ham Potatoes.

This recipe follows two of my favorite cooking rules...fast and easy (that's what she said). Plus I almost always have all the ingredients in my pantry/fridge. Its a great meal for unexpected company. I will usually double the recipe because it freezes wonderfully. And if that wasn't enough with a little modification you can just throw everything into the slow cooker for even easier dinner prep.

Are you loving this recipe as much as I do yet?

Ham and Potato Chowder

  •  4 Tablespoon Extra Virgin Olive Oil
  • 1 med Onion, chopped
  • 4-5 med carrots, sliced
  • 4-5 cloves of Garlic, chopped
  • 1.5 cups diced Ham
  • 4 Tablespoons Flour
  • 2 cups milk
  • 4 med Potatoes, chopped
  • 2 cups Chicken Stock
  • 1 Tablespoon Ms. Dash Original seasoning
  • 5-6 Red Pepper Flakes (optional)
  • 1 cup Peas
Directions:
  1. Heat the olive oil in a stock pan.
  2. Add onions and carrots to oil cook for 4 minutes. 
  3. Then add garlic cook for additional 1 to 2 minute.
  4. Add Ham and saute for 2-3 minutes.
  5. Mix in flour and cook for a few minutes, then slowly stir in milk until mixture starts to thicken up.
  6. Stir in chicken stock, potatoes, Ms. Dash and red pepper flakes.
  7. Bring to a boil then reduce heat and cook for 30 minutes on medium heat.
  8. Add peas and cook and additional 10 minutes.
  9. Top with Swiss cheese  (I was out of Swiss so I used Colby Jack, Swiss is better) and sour cream.
We like to serve it with a slice of french bread drizzled with olive oil and seasoned with Ms. Dash then toasted.

Cooking Tip:
  1. Be sure to wash vegetables well. I mention this because I once forgot and it let to a gritty dinner.
  2. After cutting potatoes rinse in cold water to make them less starchy. 
To Freeze:

Let soup cool and place in large freezer bag. Lay flat in freezer. To reheat place in large sauce pan with a 1/2 cup chicken stock over low heat until it starts to boil. Stir often.

To Cook in Slow Cooker:

Add all the ingredients except Peas, Olive Oil, Flour and Milk to slow cooker. Cook on low for 6-7 hours. In a sauce pan add 4 tablespoons butter over medium heat, once melted add 4 Tablespoons flour and cook for a few minutes. Slowly stir in 2 cups milk until it thickens. Add mixture and peas to slow cooker and cook for another 30 minutes to 1 hour on low.


Wednesday, February 27, 2013

Casserole Freezer Meals...The Not So Lazy Freezer Meals

I have expressed several times that I a lazy cook and that my favorite kitchen appliance is my slow cooker. I feel that if I have to spend longer than 30 minutes preparing and cooking dinner its wasting my time. But I like to think I am also a nice person and try to make things my family likes and my family LOVES lasagna but I never make it because it is a bit time consuming. (although a friend recently told me about a slow cooker lasagna recipe I really want to try).

In what was a moment of brilliance, "I thought I will do a few casserole freezer meals to treat the family." Apparently I need my head examined this was not a good idea and did not follow my lazy philosophy of quick dinner meals. It wasn't even quick freezer meal prep....it took for ever. 

I was very frustrated the whole time...I kept thinking I could prepare a whole month of slow cooker freezer meals in the amount of time this is taking. First you have to cook the food, then assemble it, then freeze it, then thaw it and then bake it....just thinking about all the steps involved are making me feel exhausted.

With all that being said the "pseudo" step-kids were very excited to see lasagna on the menu and ate every bite with no complaints. I am not sure if I will do it again but with that kind of response....its possible.

Since this is the first time I have done this I have only one tip...it doesn't make it easier but will help protect your food against freezer burn. Be sure to get tin foil pans with lids. After assembling your dish but a layer of press n'seal wrap followed by tin foil and then the lid for the pan. Just don't forget to remove the extra layers before cooking...trust me that does not end well and you end up ordering pizza for dinner.

Oh yea...when defrosting its best to get the pan out the at least the day before and let it defrost in the fridge until you are ready to cook. You can cook everything when its frozen but this will dramatically change cook times.

I decided to make lasagna, chicken pot pie and chicken enchilada. I made 2 pans of all three so I doubled each recipe...might as well stock up a little.


Chicken Pot Pie
  • 2 cups chicken stock
  • 1 cup milk
  • 2 Tablespoons butter
  • 2 onions, finely chopped
  • 2 carrots, diced
  • 3 celery stalks, diced
  • 5 garlic cloves, minced
  • salt and pepper to taste
  • rosemary, thyme, marjoram and basil, powdered or fresh (I used a poultry fresh herb blend)
  • 1 cup frozen peas
  • 1 cup frozen corn
  • 2 cups chicken, cut into cubes
  • 2 Tablespoon olive oil
  • 1/4 cup flour 
  • 2 frozen pie crusts thawed
Directions:
  1. Cook chicken in a large frying pan with a little olive oil and salt and pepper. Once completely cooked remove from pan and set aside*. I skipped this step by cooking all the chicken in the slow cooker the night before.
  2. Heat chicken stock and milk in a sauce pan. Simmer over medium-low heat then cover to keep warm.
  3. Melt butter in the same pan you used to cook chicken. Add carrots and celery and cook until they start to get soft.
  4. Add onions, garlic and herbs/seasoning to the pan. Cook until onions start to turn transparent. Add salt and pepper, peas and corn and cook until vegetables are no longer frozen.
  5. Add the chicken to the vegetables and stir. 
  6. Sprinkle the flour over the chicken and vegetables and stir until well combined.
  7. Pour in the chicken and milk mixture. Stir until flour has dissolved. Remove from heat and set aside.
  8. Take one pie crust and place in a the bottom of a tin foil pan with lid. This will require you to do a little "mushing to make it fit". Just make sure the bottom is covered.
  9. Place chicken and vegetable mixture in pan on top of pie crust.
  10. Roll out the second pie crust and place on top of the mixture tucking the edge of the crust around the chicken and vegetable mixture...be careful you don't want to burn yourself like I do every time I make it.
Cook:
  1. Thaw casserole.
  2. Beat an egg and brush over the top of your pie crust. Cut a few slits into the top crust to help with "venting"
  3. Bake for 20 minutes at 350 degrees. Remove lid and cook another 20 minutes.
  4. Let cool for 15 minutes before serving.
Chicken Enchiladas
  • 2 cups cooked chicken, shredded
  • 1 can diced tomatoes with green chilies 
  • 2 cups shredded cheese of your choice
  • 12 tortilla shells
  • 1 can enchilada sauce (I used mild so The "pseudo" step kids will eat it).
Directions:
  1. Mix chicken, diced tomatoes with chilies and 1.5 cups of cheese in bowl 
  2. Place a spoonful of the mixture on a tortilla shell, roll and place in a tin foil pan with lid.
  3. Repeat step 2 until pan is full or mixture is gone.
  4. Evenly pour enchilada sauce over rolled tortillas.
  5. Top with remaining cheese.
Cook
  1. Thaw enchiladas.
  2. Cook at 350 degrees for 1 hour.
Lasagna

  • 6 oz Turkey Burger
  • 6 oz Italian Turkey Sausage
  • 1 med chopped onion
  • 2 cloves garlic
  • 26 oz jar spaghetti sauce
  • lasagna noodles 
  • 1 egg, beaten
  • 1 15 oz container ricotta cheese
  • 1/4 cup Parmesan cheese
  • 1 1/2 cup Mozzarella cheese
Directions:
  1. Cook meat, onions and garlic over medium heat until meat is done; drain off fat. Add spaghetti sauce and bring to a boil.
  2. Cook lasagna noodles. Drain noodles; rinse with cold water. Drain and set aside.
  3. Combine egg, ricotta cheese and Parmesan cheese.
  4. Spread 1/2 cup tomato sauce in tin foil pan. Layer noodles, ricotta cheese mixture, meat sauce and Parmesan cheese. Repeat until ingredients are gone.
Cook:
  1. Thaw Lasagna.
  2. Bake at 375 degrees covered for 40 minutes. Remove cover and bake for 20 more minutes.
  3. Let cool 10 minutes before serving.

Sunday, February 3, 2013

Superbowl Menu for Two

In honor of my football team making the Superbowl (GO 49ers), I have decided to share my intimate made for two Superbowl party menu.

Yes, you read that right menu for TWO. This year its just The BF and me. The "pseudo" Step-Kids are with their mom (Ex-Wife/Friend) and I am not in the mood for all the cooking, cleaning and entertaining that comes with having a party.

The BF has come up with what he thinks is a great way to make it special...watch the game naked. Yup his contribution to today's events was to suggest we get butt naked (he did go get a few last minute items which was helpful). In fact he would like me to prepare all the food naked. To be honest he often suggests we just hang out naked when the kids are not here. I think most men are like that or at least I hope they are and its not just my guy.

I am not sure about the naked part but I am sure that I often over indulge eating all the food I prepare. So this year I am focusing on 4 recipes done in miniature form.


Cream Cheese and Sausage Dip

This is a super easy three ingredient recipe that tastes beyond good. I got this recipe from a friend who found it on the internet. I have no idea who to credit this recipe to but who ever you are you are my hero.
  • 3 8oz package of cream cheese
  • 1 16 oz turkey breakfast sausage 
  • 2 can diced tomatoes with green chilies
  1. Cook sausage in skillet
  2. Combine cooked sausage, cream cheese and tomatoes with green chilies in the slow cooker.
  3. Stirring occasionally let cream cheese soften.
  4.  Enjoy.
I cut this recipe in half for the two of us. I usually slice up a baguette and have some corn chips to go with it.

Favorite Salsa Dip

This recipe I got from a college roommate (Thanks Amanda) and in one of my cousin's idea this is the best idea ever, Once again its easy peasy and only has two ingredients.
  • Jar of your favorite salsa
  • block of cream cheese
  1. Soften cream cheese to room temperature.
  2. Mix salsa and cream cheese together until blended well.
  3. Refrigerate till game time.
Again I cut  this recipe in half and will serve with baguette and corn chips. The key is simple.


Wings

Because I am a lazy cook this is the easiest recipe.
  • Bag of your favorite wings from the freezer section of your local grocery store.
  1. Cook 3-7 wings for each person according to the package directions.
This works great for The BF and I becuase we like very different wings. he likes the Tequila Lime and I like the Honey BBQ with extra sauce added.
I know I know its not a really recipe but its so very very very easy and they taste pretty good. The only thing that is easier is buying them already cooked from local restaurant but that costs more money and I am cheap as well as a lazy cook.

Chocolate Chip Cookies

I happen to have a really good chocolate chip cookie recipe. Seriously its really good....This is not that recipe. This is an easy recipe that takes no effort. That's right I bought some refrigerated cookie dough. The kind that is already sectioned out so you just have to decided how many you want to bake. One day I will share my super delish Chocolate Chip cookie recipe...I promise. Until that day bake your cookies according to the package instructions.

Citrus Water

I know I said 4 recipes but I am not sure the last 2 really count so as a bonus I am sharing a new idea I  found just today. Since its the Superbowl we like to have some beer with our treats but this year to stay hydrate and to avoid a possible Monday morning hangover I have made some citrus water that's to Holistic Dad and his recipe.
  • 2 Oranges
  • 2 Lemons
  • 2 Limes
  1.  Cut all the fruit into round sections and then cut in half.
  2. Divide between 4 large mason jars or one large containers.
  3. With the handle of a wooden spoon press and twist the fruit. Don't mash just release some of the juices.
  4. Add ice until jar is full
  5. Fill jar with water and refrigerate until game time. 

If you like it share it

Related Posts Plugin for WordPress, Blogger...